#005 MIDI through box
| Order id | Price | Weight | Status | Stock |
| #005 | 4000Yen | 100gram | release | 8 |
表示の価格は税抜き価格です
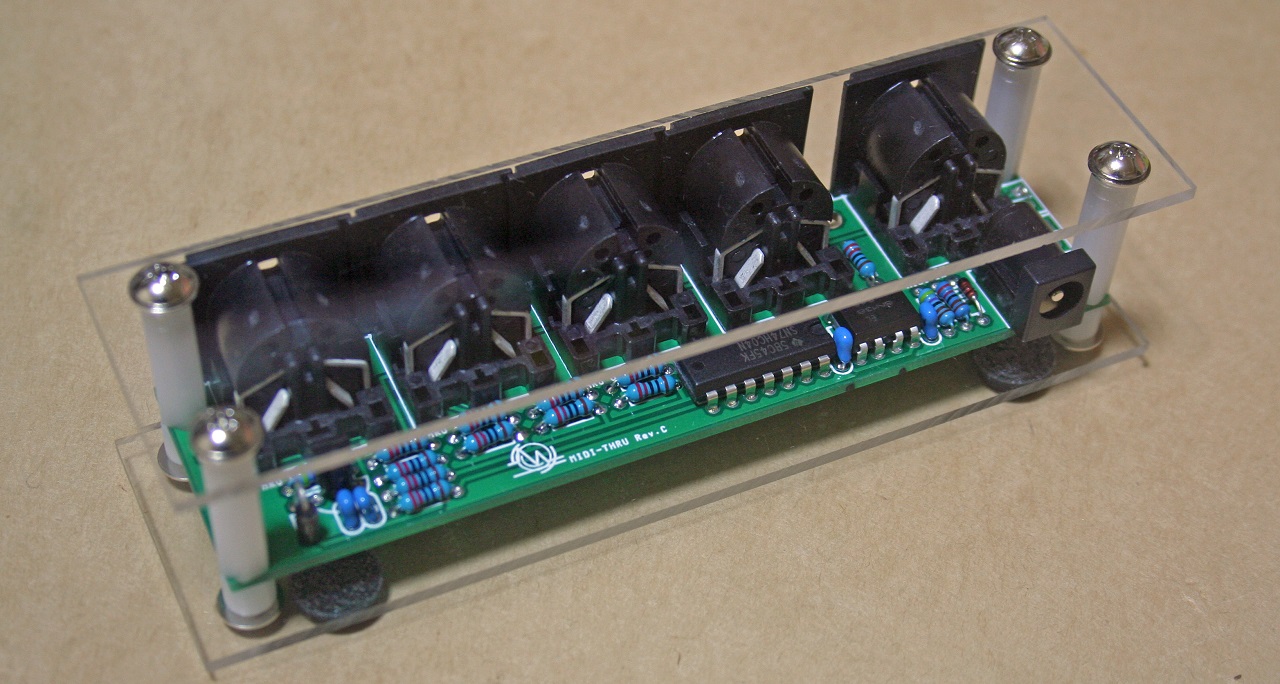
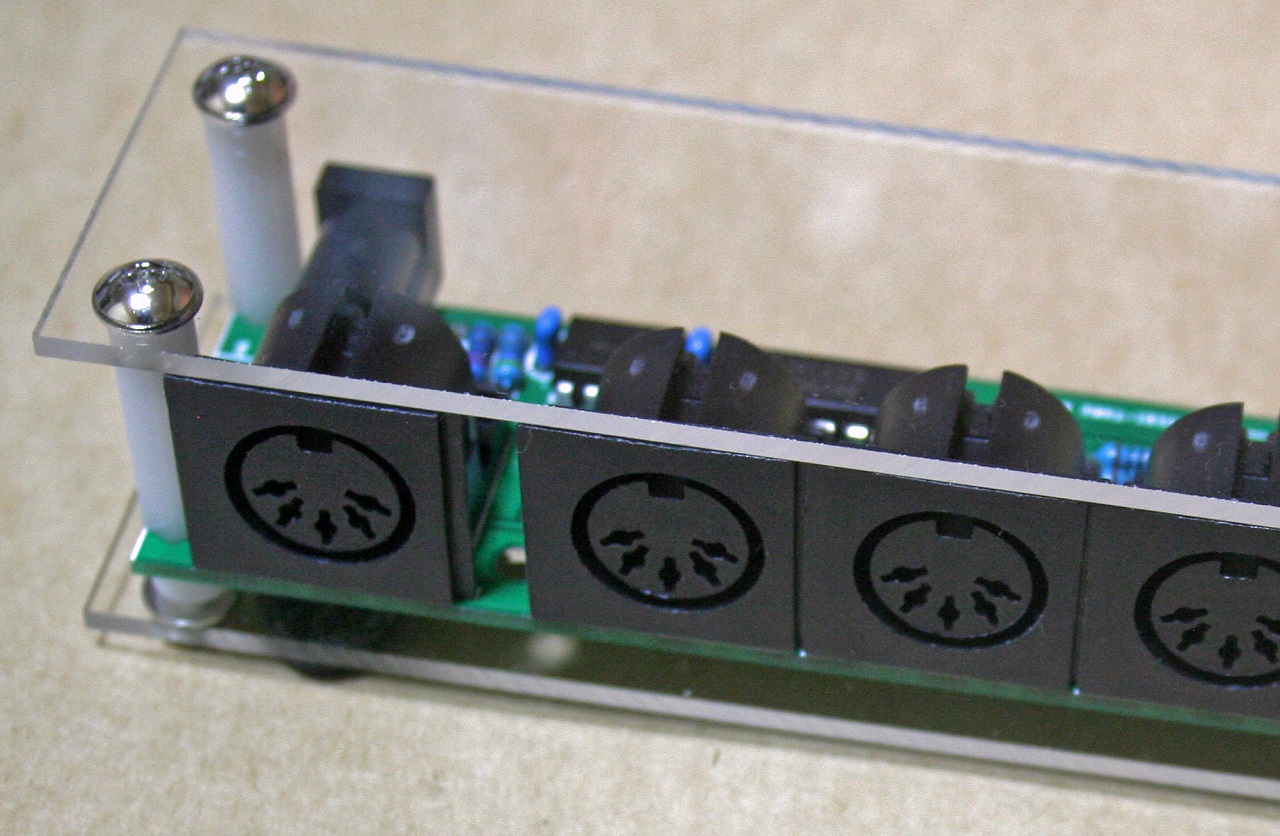
This gear receives MIDI stream and distribute it to 4 MIDI outputs.
When you want to send MIDI stream to independent MIDI device then this gear may help you.
this gear has photo-isolated MIDI In and separate drive for each MIDI Out. it works as same as normal MIDI gear.
AC adapter is option. Don’t forget to get it.
You can add one more buffered output ch by adding another DIN socket. It may be matched to built-in board in your box for DIYer.
この機材は、MIDIデータを受けて4分配します。
MIDI THRU端子の無い独立した別のMIDI機器、それぞれに、MIDIデータ送りたいときに使います。
MIDI THRU端子の無い独立した別のMIDI機器、それぞれに、MIDIデータ送りたいときに使います。
この機材はフォトカプラを使っており、一般のMIDI機器同様の信頼性があります。ACアダプタはオプションです。
DINコネクタを追加すればもう1CH増やせるようバッファリングされた出力端子があります。自作メカへの組み込みにいかがでしょうか?
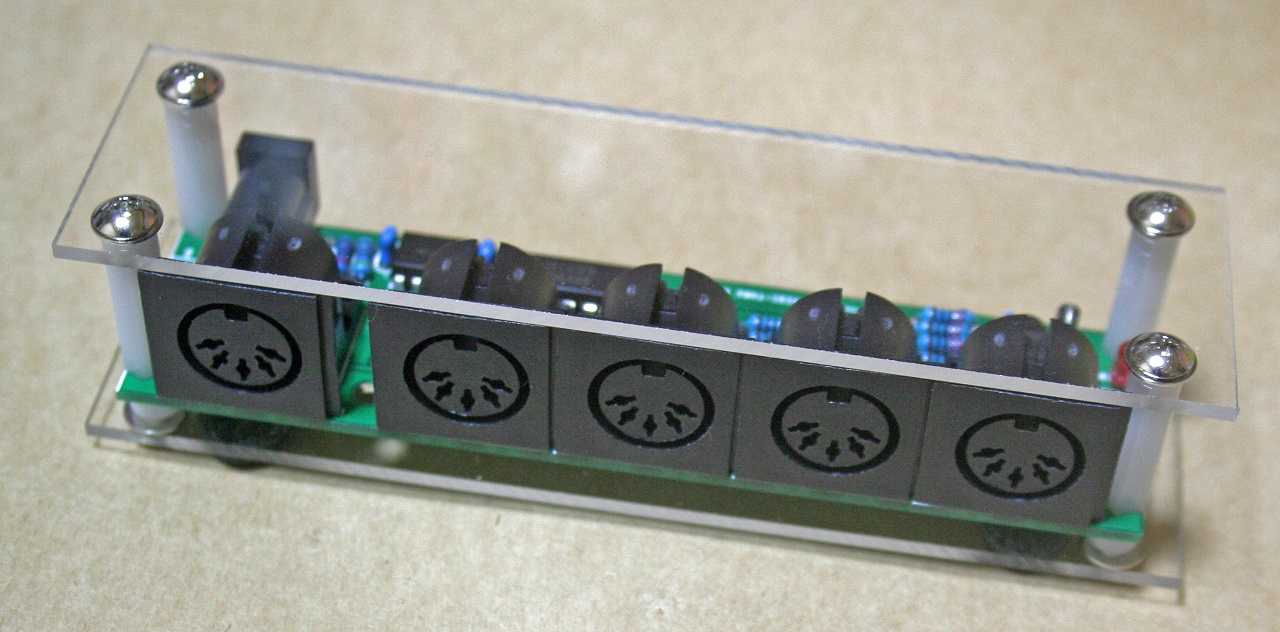
- Transparent acrylic panel package.
- 1 MIDI In 4 MIDI Thrughs
- Power indicator LED.
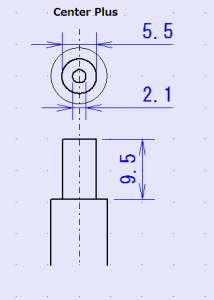
- DC power input jack : 5.5mm(outside diameter) / 2.1mm (inside diameter) centre + 9v
- Size: 130 X 35 X 34 mm
- Weight: 100 g
The Guide Of Modifications
改造例
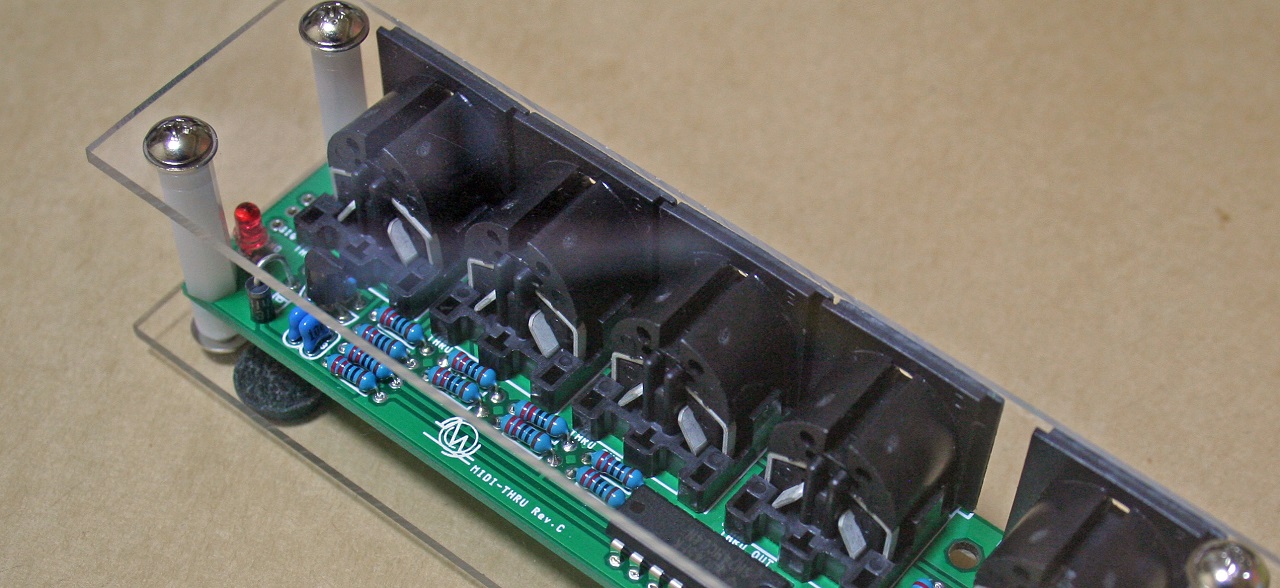
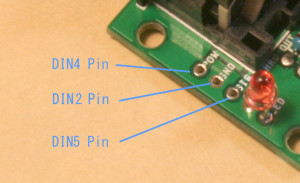
You can add one more MIDI through port adding DIN5 Pin connector for yourself. Check next picture . It’s right side of the board and just next power indicator LED.
About pin structure of DIN, check next fig.
About pin structure of DIN, check next fig.
DIN5Pinのコネクタをハンダづけすることで、もう1ポート追加する事が出来ます。次の写真を良く見て挑戦してください。電源表示のLEDのすぐそばです。DIN5プラグのピン配置はこちらの図をチェックください。
DIN5 plug pin structure
DIN5 plug pin structure
When you put this item for your DIY projects, then you should better get another power source from inside of your own project.
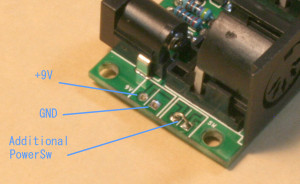
next picture is just another side of the board. check the polarity so closely and connect +9V and ground together with your equipment.
Just putting it another enclosure, you may need power switch. then remove Jumper line and connect your power switch there.
next picture is just another side of the board. check the polarity so closely and connect +9V and ground together with your equipment.
Just putting it another enclosure, you may need power switch. then remove Jumper line and connect your power switch there.
As you know, there is no warnnary about modifications. Do it for your own risk!
このアイテムを御自分のDIYプロジェクトの中に組み込もうと思ったら、そちらのプロジェクト側から電源を取ったほうが良いかもしれません。追加MIDIポートとは反対側の写真ですが、
+9Vとグランドラインを接続してください。
別の箱に組み込む場合には電源スイッチをつけたくなるかもしれません。電源ポートの隣のジャンパーをはずせばここにスイッチを追加する事が出来ます。
+9Vとグランドラインを接続してください。
別の箱に組み込む場合には電源スイッチをつけたくなるかもしれません。電源ポートの隣のジャンパーをはずせばここにスイッチを追加する事が出来ます。
改造は転んでも泣かない覚悟でどうぞ。(モチロンいつでもお手伝いします、御相談ください)
Options

#054 AC adapter 9V
Input:100-240V / Output 9V 1.3A small type. (30x45x25mm)
It’s match for MIDI Through box and more.
Center pin is Plus 9V. Outside is grand.
- Order ID:#054
- Price 1400Yen (80ggram)

Shipping / Handring fee
| Weight | NorthAmerica / Australia |
Europe |
| under 500g | 2000 yen | 2200 yen |
| under 600g | 2180 yen | 2400 yen |
| under 1kg | 2900 yen | 3200 yen |


