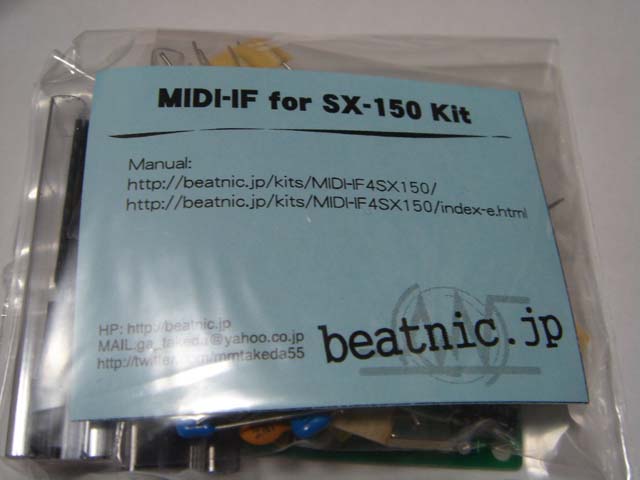
MIDI-IF for SX-150 Kit
Get MIDI-IF for SX-150
I went to the live show for "mandara" at roppongi in end of spring of 2011.
The man who sets his rig at left side of the stage is the planner of SX-150. He had played SX-150 in his performance. His name is "Polymoog". He plays some gadget synth as a member of the band "CTO LAB". You can find their Video in Youtube.
it was great performance.
And at the end of the show, he anounced that"SX-150 mark II is planned now".
SX-150 is released from Gakken. It's the almost first Gadget Synth in Japan. It can't track the pitch correctly for temperature drifts. but it small and cute. it gets me and makes me feel good.
When it had released from Gakken, RadioJankBox who live in Saporo had developed "MIDI-IF for SX-150".
I trace it and add mod to be able to use it as live performance. Yes, he used it in his performance.
Later, I bend MIDI-IF for SX-150 to Monotron. so You can also build MIDI-IF for SX-150. Some of values of parts should be changed but they are almost same.
OverView
PCB and preprogramd CPU for "Monotoron" can be used as is. It's just same. So the instruction to build the board is almost same as MIDI-IF for monotron. Please check also. For SX-150, It's more portable than monotron because of power source. In monotron version, you need monotron itself to get power from it. but in this version you have 3 terminal regurator on board for battery. So the cabele to connect to the out side of this board is less than monotron version.
Purple circle parts is vacant. No parts install there. Red circle is defferent from Monotron configuration. Use Components layout chart and check what parts and value should be used on the board. IC's, Diode and 3 terminal regurator is omitted in this chart.
Wiring
this picture displays full wirring. In this case, you need 4 pot controles. if you think that it's too much, then you can add mods.
1. The jumper at the 14pin of U1 will switch the LFO rate knob from hardwaired pot to MIDI cc stream. if your MIDI keyboard or sequencer can throw control change message 4C (76 in decimal) then it will change LFO rate.
then you don't need not only 10k pot but also R5, R4 and C2. it can make your borad more simple to build.
check the positions of R5, R4 and C2 by Components layout.
if you install Jumper at 14pin at U1 then you need to install R5, R4 and C2.
2. SX-150 have temperature drifts. so you may need tune each time when you play both pitch tune and scale tune.
as you know, "Tune" knob is for pitch. And "Span" means octave scales. If you think that you use SX-150 as FX sound only or you use it as synth percussion or so, and there is no need to get correct tune, then octave span pot may be no needed to tweak every time when you play. Then you can omit octave span pot and install trim pot on the board.
About battery, We use "006p" that 9v type.
Conecting with SX-150, there is blue line at SPAN knob labeled "SX Pitch" is going to be connected with SX-150's stylus pen.
And You can find another blue line at the bottom of the picture comes from RATE knob's left side pin that labeled as "SX GND".
this line should be connected with SX-150's GND. the battery spring is the GND of it. buy you can get it from out put jack's shield side.
I put 3.5mm jack to get the sound from SX-150 and convert it to 6.3mm jack. and get the grand from it.
Housing
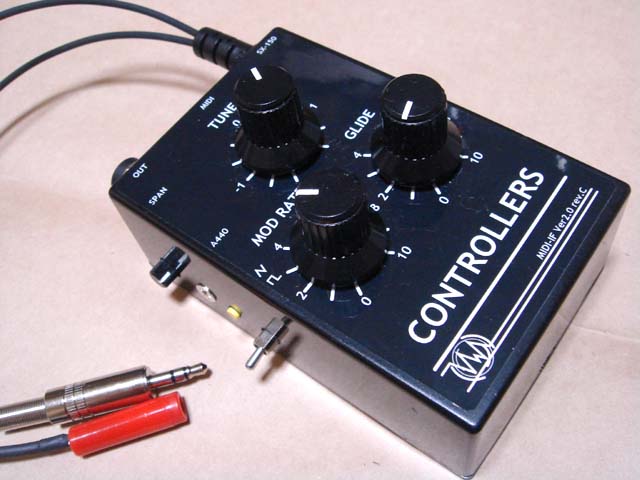
You can put this into any enclosure. This is the one of the fun of DIY, I think. I desgined the sticker as similar to left side of MINIMOOG. there is more pictures. Please check it.
In this configulation, I put LFO wave form sw, tune sw and octave span knob on the left side of enclosure. These 2 swtichs are option and if you connect them then you can use its functions.1. Wave form sw can select LFO wave form. In PCB, it's labeled as "form". When it's open, wave form is triangle. it down to the ground, it's getting to be square wave.
2. Tack sw labeled as "A440" will asists tunning. 3.5mm jack is going to SX-150 output. And 6.3mm jack on enclosure convert the SX-150 output for audio outputs. the line comming from PCB labeled as A440 gets the 220Hz (it's note of center A) signal when Tune SW get down to the ground. I connect it to audio output. when you push the tack sw so you can get 220Hz and of course CV and gate is comming from the board just same as getting center A notes from keyborad or something. So we can get SX-150 and 220Hz sound at a time. turn you tune knob and get tune in. I use this function so much. it's use full, I think.


